You’re probably familiar with the basic yoga poses Downward Dog, Triangle Pose, and so on. But are you ready to take your practice to the next level?
These nine advanced yoga poses will help improve your strength, flexibility, and balance. They may seem daunting at first, but with a little practice, you’ll be able to nail them every time.
So why not give them a try today? You may be surprised at just how much they can improve your yoga routine.
Get Ready Physically for Advanced Yoga Poses
The physical preparation for yoga poses is similar to learning how to play a musical instrument. You don’t just pick up a guitar and start playing; you practice scales, chords, and strumming patterns until it becomes second nature. In the same way, practicing yoga poses requires a lot of repetition and patience. If you want to master one particular pose, focus on mastering it. Once you’ve got it, move on to another.
In my experience, there are three key components to building strength and flexibility in your body. First, you must warm up. This includes stretching out tight muscles and getting ready for the workout ahead. Second, you’ll want to do some form of cardiovascular exercise, such as running, cycling, or swimming. Finally, you’ll want to perform dynamic stretches, where you work against gravity. These movements help loosen up tight muscles and improve the range of motion.
For example, let’s say you’re working on standing forward bends. Start by warming up with a few minutes of walking or light jogging. Then, take a break and stretch out your legs. Next, turn around and walk backward for five steps. Now, jog forward again for five steps. Repeat this
Prepare Mentally to Practice Difficult Yoga Poses
Yoga is one of those things you either love or hate. For me, it’s somewhere in the middle – I like being able to do poses that challenge my body, but I don’t want to spend hours doing them every day. If you’re looking for something challenging but short, here are some tips to help you prepare mentally for difficult yoga poses.
1. Know Your Limits
The most important thing you can do to avoid injury during practice is to know your limits. Don’t push yourself beyond what you’re capable of. This includes knowing your body type and how much weight you can lift. You might find that you can do a pose better once you warm up, but you shouldn’t try it without warming up.
2. Do What Works Best for You
You may benefit from meditating before class if you struggle with mental focus. If you’d rather just go into class ready to work out, that’s fine too. Just make sure you’re comfortable with whatever approach works best for you.
3. Be Consistent
Consistency is key. Try to stick to a routine, even if it’s just three times per week. Find a schedule that works well for you and commit to sticking to it.
Crow pose (Kakasana)
This pose helps strengthen the back muscle, which makes it great to tone those areas. It’s an easy way to work out your shoulders and upper body, strengthening your ankles and calves. A strap around your upper arm will help prevent your elbow from spreading out to the side. This helps you maintain your balance. Practice balancing by placing a block on its shortest side under your feet. Place a pillow under your head to reduce anxiety about falling, and keep your neck straight.
Forearm stand (Pincha Mayurasana)
The forearm stand is a yoga pose that involves balancing on the forearms. It is often used in conjunction with other poses such as Virabhadrasana III, Salamba Sarvangasana, and Ardha Matsyendrasana to create a sequence of postures known as “the eight limbs.” The pose can be performed standing or sitting.
This is a very difficult pose, but once you learn it, you’ll be able to use it anytime. So don’t give up!
Hand-to-foot pose (Utthita Hasta Padangusthasana)
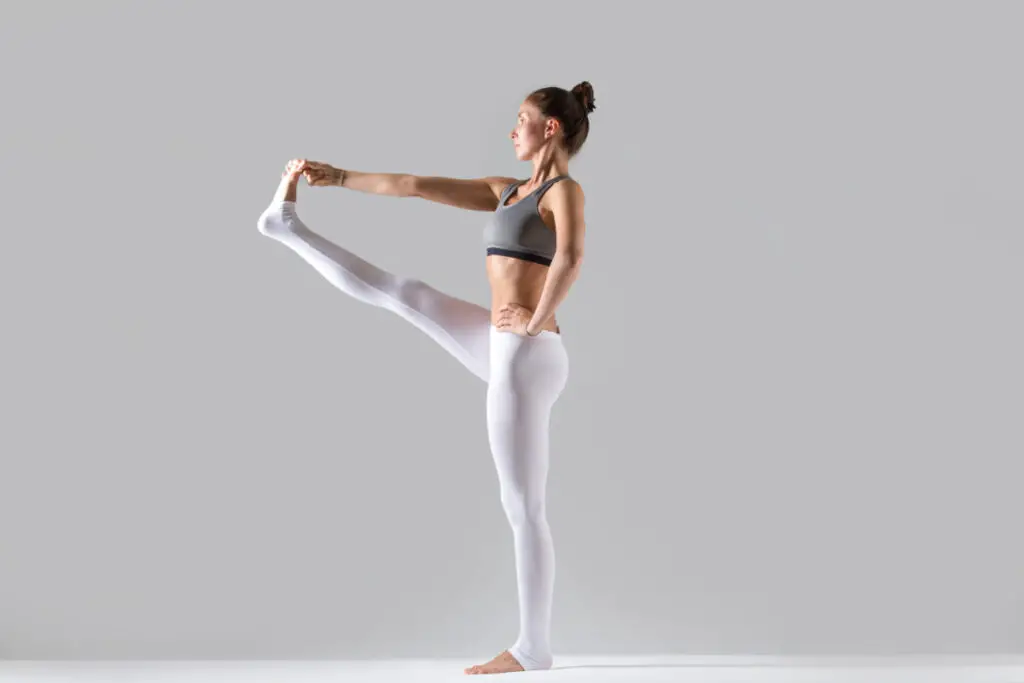
The hand-to-foot pose is one of the most effective poses for strengthening the core muscles while stretching out the hamstrings. This posture improves balance and coordination. It strengthens the lower body, particularly the legs.
This posture is performed standing up with feet together and hands resting on the floor behind you. You inhale and lift your chest forward, keeping your shoulders down and relaxed. As you exhale, bend your knees slightly. Your thighs are parallel to each other. If you feel comfortable, try lifting your heels off the ground.
Inhaling again, bring your arms straight out in front of you, palms facing away from you. Exhale and slowly rotate your torso towards your left foot. Keep your head still and look over your shoulder. When you reach the position where your fingertips touch your toes, hold it there for 10 seconds. Then return to starting position and repeat on the opposite side. Continue alternating sides for 5 minutes.
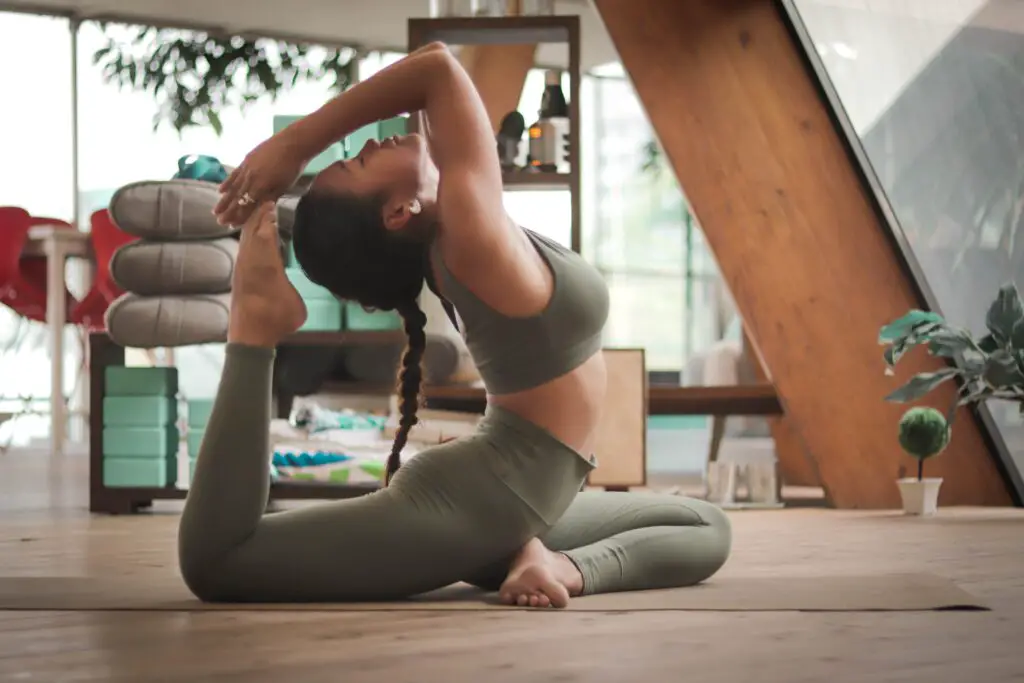
Mermaid (Eka Pada Rajakapotasana)
The mermaid pose stretches the legs, hip, buttocks, and abdominal muscles. It strengthens the upper body, especially the arms, shoulders, and chest. It helps improve balance and coordination.
This yoga position requires you to lie flat on your stomach with your head resting on the floor. Your knees are bent 90 degrees, and your feet are placed shoulder-width apart. You should keep your spine straight and avoid arching it.
Your hands should rest behind your ears, palms facing down. Keep your elbows close to your sides.
You should breathe deeply during the entire exercise.
Hold the pose for 5 breaths. Then release slowly and repeat three times.
Lotus (Padmasana)
The lotus position is one of the most popular yoga postures because it stretches your entire leg and calf muscle group. It benefits people suffering from knee pain, arthritis, and low back problems. In addition to stretching out your legs, you can use this pose to relax the mind and relieve stress.
This pose is known as Padmasana, meaning “lotus.” To do this pose, lie down on your stomach and place your hands under your shoulders. Then lift your hips up off the floor and raise your knees toward your chest. You should feel a stretch along your inner thighs and calves. Hold the pose for 5–10 breaths. If you are feeling comfortable, try extending both arms straight above your head.
If you struggle to keep your balance while doing this pose, try placing a blanket beneath your buttocks. This will give you some extra support and make balancing easier.
Monkey pose (Hanumanasana)
This pose is called the monkey pose because it resembles how monkeys move around trees. You start off standing up straight with your feet together. Then, bend forward at your hips, keeping your spine long. Hold onto something sturdy, like a wall or chair, for support. Your knees are bent 90 degrees, and your arms are outstretched in front of you. Now, reach down toward the floor, bending your elbows and lowering yourself into a squat position. If you feel comfortable, you can bring your hands closer together.
To come out of the pose, slowly push yourself back up to stand up straight again. Repeat three times.
Side plank variation (Vasisthasana)
This posture helps improve balance and helps build strength in the core. It strengthens the abdominal muscles and improves breathing. It helps relieve tension in the shoulders and neck. It helps eliminate fatigue and increases energy.
The side plank is one of the most basic yoga poses. It is easy to do and requires no equipment.
However, it does require some practice. Here are three tips to make sure you perform the side plank correctly and safely.
1. Start off slowly. You don’t want to injure yourself. If you feel pain while doing the pose, stop immediately.
2. Keep your body straight. Don’t lean forward or backward. Your head should remain aligned with your spine.
3. Breathe deeply. Take slow, deep breaths into your belly. Let your chest expand fully.
Toe stand (Padangustasana)
In yoga, toe stands are a series of standing poses that involve balancing on the balls of your feet. The name comes from the Sanskrit word padangusthasana meaning “to balance one’s foot”. In modern times, this pose is often called Padahastasana or simply Padmasana.
Wheel (Urdhva Dhanurasana)
The Wheel pose is a yoga asanas that helps to strengthen the back, and improve flexibility. It also improves posture and balance. The name comes from the shape of the body in this pose.
This pose is great for stretching tight hamstrings and calves and works well for building core strength. Keep your spine straight during the entire movement.
Tips and Modifications:
The benefits of practicing yoga are endless. Yoga is great for both beginners and experienced practitioners because it provides many health benefits. You don’t even need to spend hours in the studio to reap the rewards.
Here are some tips and modifications for advanced poses:
1. If you are new to yoga, start with basic poses and work your way up to more advanced ones.
2. If you have any injuries or health conditions, talk to your doctor before starting a yoga practice.
3. Listen to your body. Don’t push yourself too hard. Stop if you feel pain or discomfort.
4. Modify the pose to make it more comfortable for you. For example, hold on to a wall or chair if you have trouble balancing.
5. Use props such as yoga blocks, blankets, and straps to help you with the pose.
6. Practice with a friend or teacher to get help and feedback.
7. Don’t be afraid to ask for help. Yoga is supposed to be enjoyable, so don’t hesitate to ask for assistance if you need it.
Yoga is a great way to improve your health and well-being. With regular practice, you will see an improvement in your flexibility, strength, and balance.
Why shouldn’t you do advanced yoga?
Yoga is often associated with being spiritual, peaceful, and calm. But what does it mean to practice yoga? What are the benefits of practicing yoga? And how do you know if you’re doing it correctly?
There is no enlightenment at the end of yoga poses, and yes, there is such a thing as “advanced yoga.” If you contort your body into strange positions, you might think you’re doing something special, but you aren’t. You’re just stretching and strengthening muscles you didn’t even know existed.
Contorting your body isn’t healthy. In fact, it could actually hurt you. When we bend our bodies, we put stress on joints and ligaments. This puts us at risk for injury, especially if we don’t stretch properly beforehand.
The idea that you can change yourself with yoga is a fallacy — the same way that you cannot change your personality. People come to yoga because they want to feel better, not because they want to become someone else. They want to care for themselves, not change themselves.
How can inversions help with advanced yoga poses?
Inversions like a forearm inversion or a handstand are advanced yoga poses but can also bridge the gap to even harder poses. These poses are challenging and require a lot of focus and concentration.
But when done right, these poses will give you incredible physical and mental benefits. For example, inverted poses increase blood flow throughout the body, which makes them ideal for improving circulation.
How can students of yoga master advanced poses?
Just because you’ve been doing yoga for a year doesn’t mean you’re ready for all of the difficult poses a yoga instructor may through your way as a student.
I’m not saying that you can’t do them, but knowing what they are and how to execute them safely is essential.
Sometimes you may need to master more of the basics before you move on with the advanced yogis.
How important are the angles of your feet and fingers for advanced posts?
You want to ensure that you have the correct posture to set up for one of these more significant challenges. In some poses, the angle of your foot should be parallel to the floor, and your hands should be placed so that they form an L shape.
This will allow you to use gravity to pull your legs up toward the ceiling. It will also keep your arms from getting too far away from your head.